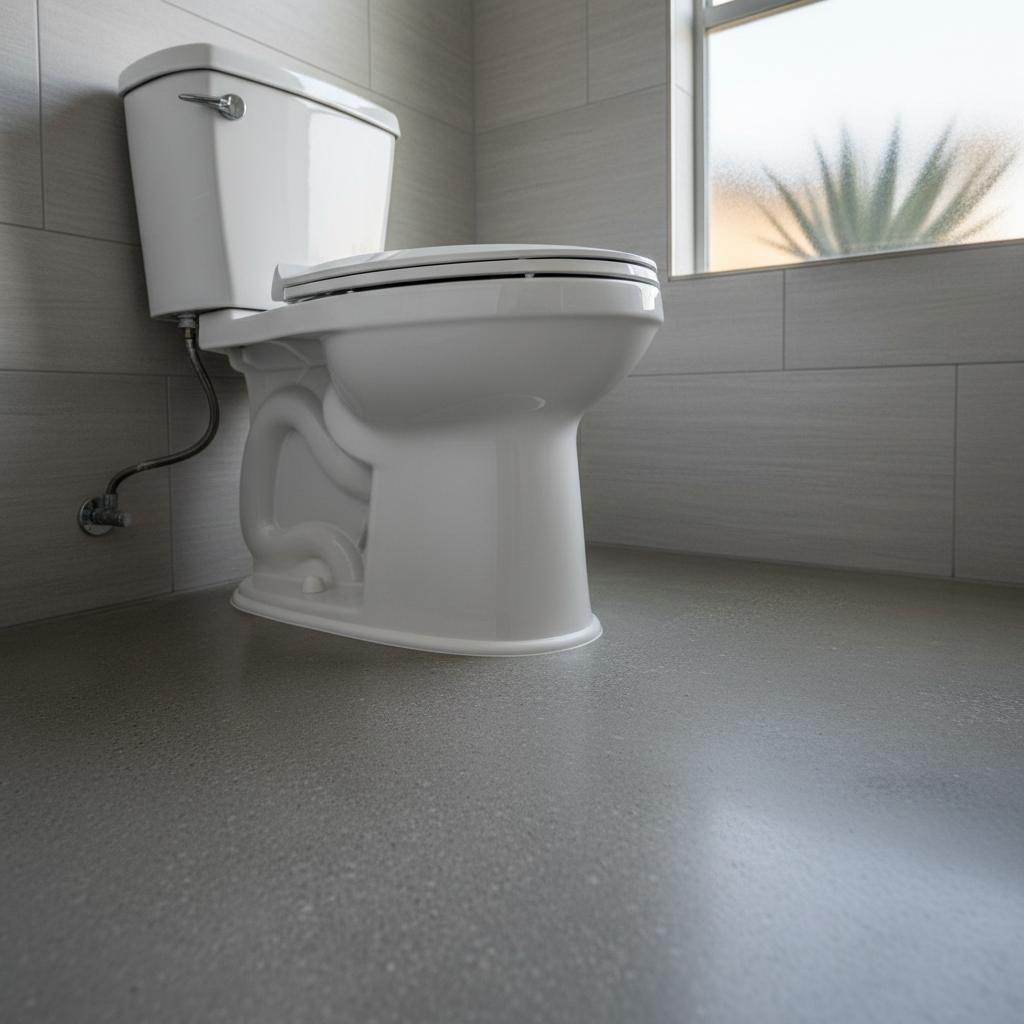
So, your toilet's seen better days, huh? Maybe it's constantly running, or it's just an old, inefficient model that's eating away at your water bill. Whatever the reason, you're probably thinking about swapping it out. And you know what? Good for you! A new toilet can really change your bathroom's look and feel. Plus, honestly, it's one of those DIY projects many homeowners can actually tackle.
But let's be real: there's a fine line between a satisfying DIY job and a plumbing nightmare. I've seen enough of both in Gardena homes to know exactly where that line usually is. So, here's what you should know before, during, and after you decide to take on a toilet installation.
Before You Start: Planning & Prep
First things first, you've got to pick the right toilet. Don't just grab the cheapest one you see. Think about the bowl shape (round vs. elongated), the height (comfort height is a total game-changer for some folks), and how powerful the flush is. And this is super important: measure your rough-in distance. That's the measurement from the wall behind the toilet to the center of the drain pipe – you know, where the bolts holding the toilet down are. Most are 12 inches, but some older homes, especially those built in the 50s or 60s around the Moneta neighborhood, might have 10-inch or even 14-inch rough-ins. Get this wrong, and your new toilet simply won't fit.
You'll also need some tools and supplies. Here's a quick list:
- New toilet (duh)
- Wax ring (definitely get a reinforced one; they're much more forgiving)
- Toilet bolts and washers (they usually come with the toilet, but double-check)
- Adjustable wrench
- Screwdriver (flathead and Phillips)
- Pliers
- Utility knife or putty knife
- Bucket and sponges/rags (for water cleanup, because there will be water)
- Level
- Caulk gun and silicone caulk (make sure it's mildew-resistant)
Make sure you have absolutely everything on hand before you even think about turning off the water. Trust me, you do not want to be running to Home Depot mid-project with a leaky toilet hole.
The DIY Steps: What You Can Tackle
Okay, you've got your new toilet and all your gear. Here's the general rundown for a DIY installation:
- Shut off the water: Find the shut-off valve behind the toilet and turn it clockwise until it's tight. Then, flush the toilet to empty the tank. Hold the handle down to get as much water out of the bowl as possible.
- Disconnect the water line: Use your wrench to disconnect the supply line from the tank. Have that bucket ready for any water still in the line.
- Remove the old toilet: Pop off the caps covering the bolts at the base. Use your wrench to loosen and remove the nuts. Rock the toilet gently to break the wax seal. Lift the tank and bowl off the flange. Be careful, though; they're heavier than they look!
- Clean the flange: Scrape off all the old wax from the floor flange. This step is crucial for a good seal. Also, make sure the flange itself isn't cracked or damaged.
- Install new bolts and wax ring: Place new toilet bolts into the flange slots. Center your new wax ring around the drain hole.
- Set the new toilet: Carefully lower the new toilet straight down onto the wax ring and bolts. Don't twist it! Once it's down, press firmly and evenly to compress that wax ring.
- Secure the toilet: Place washers and nuts onto the bolts. Hand-tighten them first, then use your wrench to tighten them a little at a time, alternating sides. Don't overtighten, or you could crack the porcelain.
- Connect the water line: Attach the supply line to the new toilet tank.
- Turn on the water & test: Slowly turn the water supply back on. Let the tank fill, then flush a few times. Check carefully for leaks around the base and where the supply line connects.
- Caulk the base: Once you're sure there are no leaks, run a bead of silicone caulk around the base of the toilet where it meets the floor. This keeps moisture out and makes cleaning easier. Leave a small gap at the back, just in case of future leaks, so water can escape and you'll spot it.
When to Call a Pro (That's Me!)
Now, I'm all for saving a buck and getting your hands dirty, but there are definitely times when you should just pick up the phone and call Gardena Custom Bathrooms. Here's when:
- Damaged flange: If you pull up the old toilet and find a cracked or corroded flange, that's a bigger job. You might need to replace part of the drain pipe, and that's usually beyond what a typical DIYer is comfortable with.
- Leaky supply line or shut-off valve: If the shut-off valve behind your toilet is old and corroded, or if the supply line itself is leaking when you try to disconnect it, you've got a problem. Trying to force it can lead to a much bigger flood.
- Toilet won't stop rocking: You've tightened the bolts, but the toilet still wobbles. This could mean an uneven floor or a problem with the flange, and it needs to be fixed right to prevent future leaks.
- You're just not comfortable: Hey, no shame in admitting it. If you get halfway through and feel overwhelmed, or you're worried about making a mistake, that's exactly what I'm here for. It's way better to call me than to end up with a flooded bathroom or a toilet that constantly runs.
- Old, stubborn plumbing: Sometimes, especially in older Gardena homes, pipes and connections are just fused together with years of mineral buildup. Trying to force them can cause bigger plumbing issues.
A toilet installation might seem simple, but a bad seal or a cracked flange can lead to water damage and headaches you really don't need. If you hit a snag, or just want the assurance that comes with a professional installation, give Gardena Custom Bathrooms a call. We'll get it done right, so you can get back to enjoying your bathroom.